fbpx
Last Updated on December 1, 2022 by Steph Reed

Lesson and activity visual instructions

During my subject, class or group lessons I will give each child a visual step by step instruction resource that me and my teaching assistants will have made using a symbol computer program (My school uses ‘Communicate In Print’) I print the symbol resources I’ve made and then laminate them.

The instructions give the children a visual step by step guide to the activity. This gives the children a visual structure to the lesson where the beginning and ending is clear. Visual step by step guides promote independence as the children are able to see the steps first and are not completely relying on a verbal instruction from an adult. More able children who can read are able to follow visual instructions with increasing independence as they read each step before undertaking the task.

Here is an example of a booklet for children who understand symbols but are not yet reading and possibly have a short attention span (hence no more than 2 symbols per age).

large symbol visual instruction

The large symbols are easy to see and focus on for a child with a short attention span. Only 1 symbol per page allows the child to focus only on that symbol instruction rather than seeing multiple instructions on 1 page. Before beginning each step of the task we will look at the symbol, point to the symbol and then say and sign the symbol. When the step is complete, I will say “…….  has finished” and the children will then move a red square onto  the box next to the symbol to highlight that step has finished. (See photos above – when a child puts a red square next to the symbol, this means the step has finished). This routine can be taught using physical and verbal prompts initially before reducing them as the child becomes more familiar and confident with the routine.

For the children who are more able and perhaps recognise a few words, the following visual instructions would be more suitable for the same activity. As the child becomes more able to read and understand text, these instructions can simply be written bullet points.

The next instructions follow a green and red board as a visual within-task schedules. The steps to be undertaken are on the green side and when the step is finished, the child moves it to the red side. These instructions show a clear beginning and end to the activity. I make these instructions for the children in my class that recognise some words or can read. After completing a step I ask the children “whats next?” and they read the next step on the green side. I will then model the task for the children so they can see how to do it before they begin the task. As you can see I have differentiated the 2 boards below for children at different levels by using a maximum of 2 symbols per instruction on one and much more detailed text on the other.

visual lesson structure for children with autism

For parents and schools without a symbol program, resources like this can be made with photos and images found simply on the internet (searching a word on google images will bring up a large selection of related images!). You don’t even need to have access to a computer or the internet, just simply drawing a picture will be just as good. The instructions above could just be simple drawings of first a pizza, then tomato sauce, followed by cheese, then the toppings and the oven down the side of a page!

Online Training Courses

Take a look at our online courses full of videos and resources to empower you with knowledge, strategies and skills to enhance children's learning and development


2 Comments

Amelia · November 4, 2014 at 12:52 am

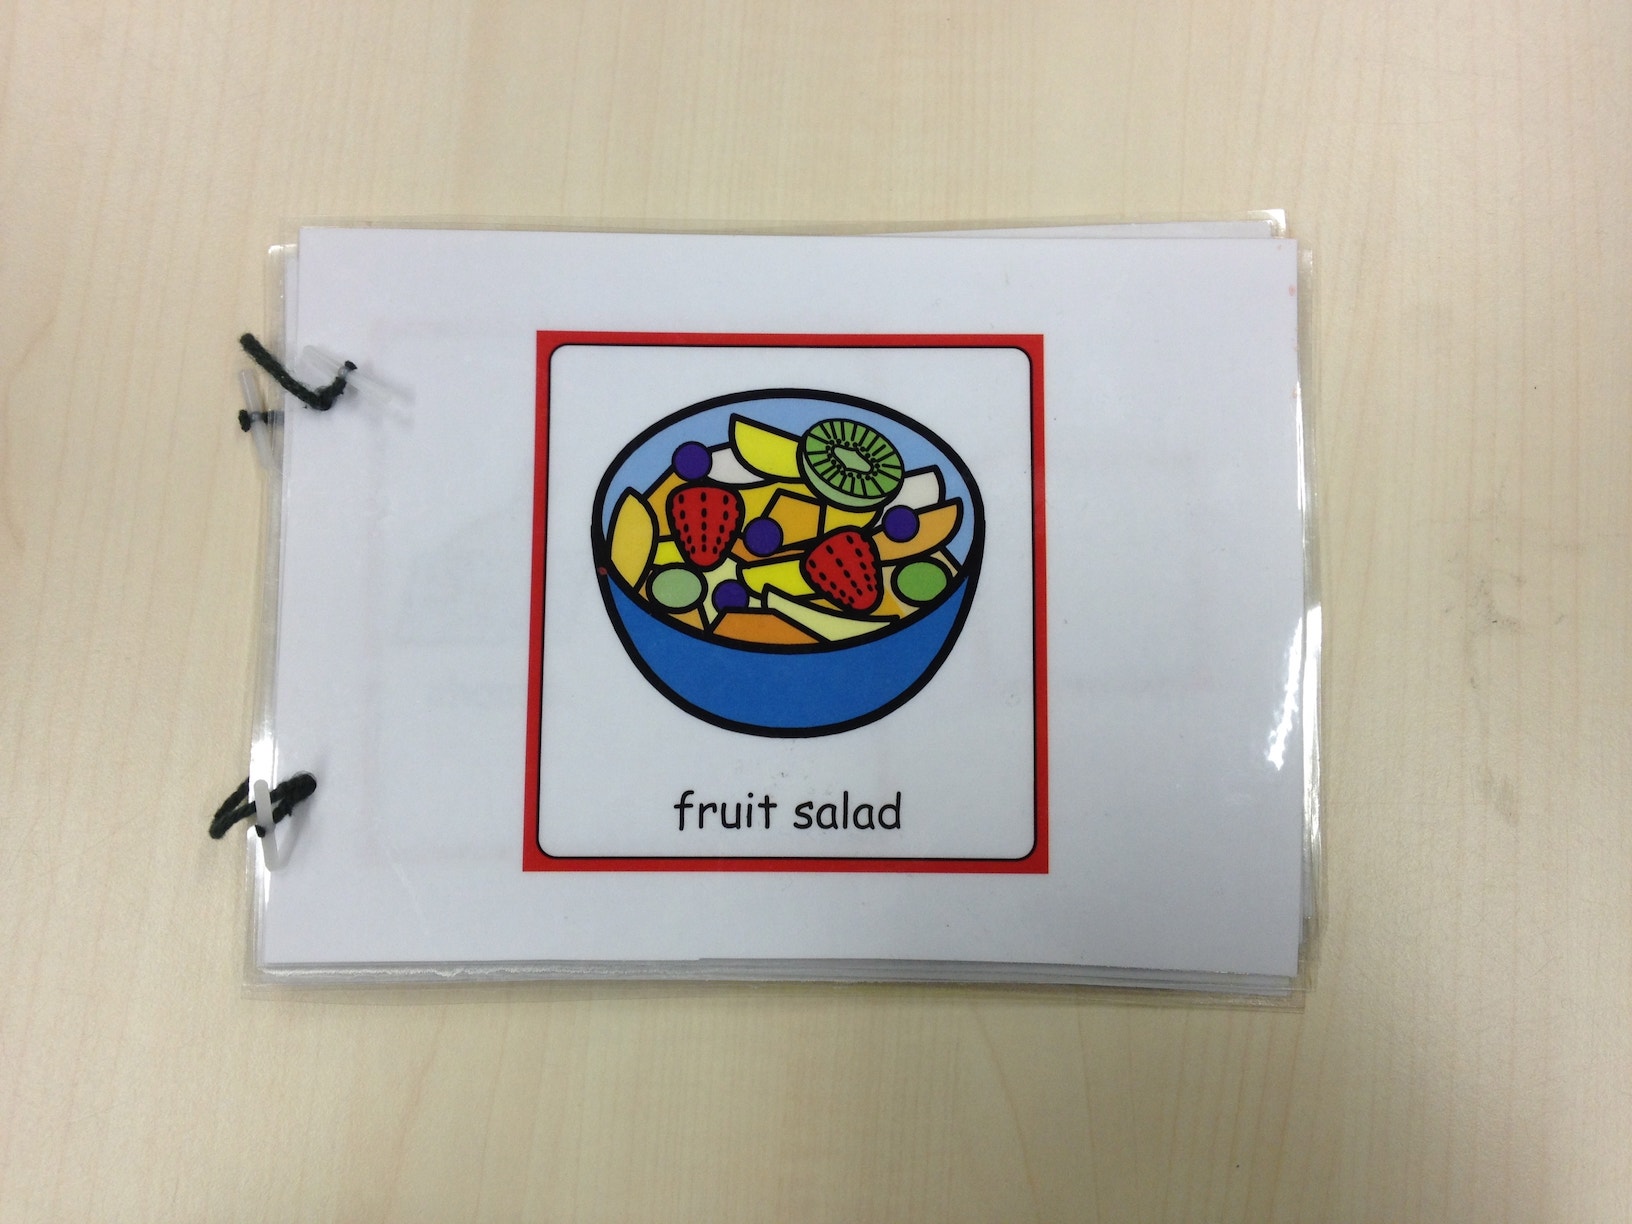
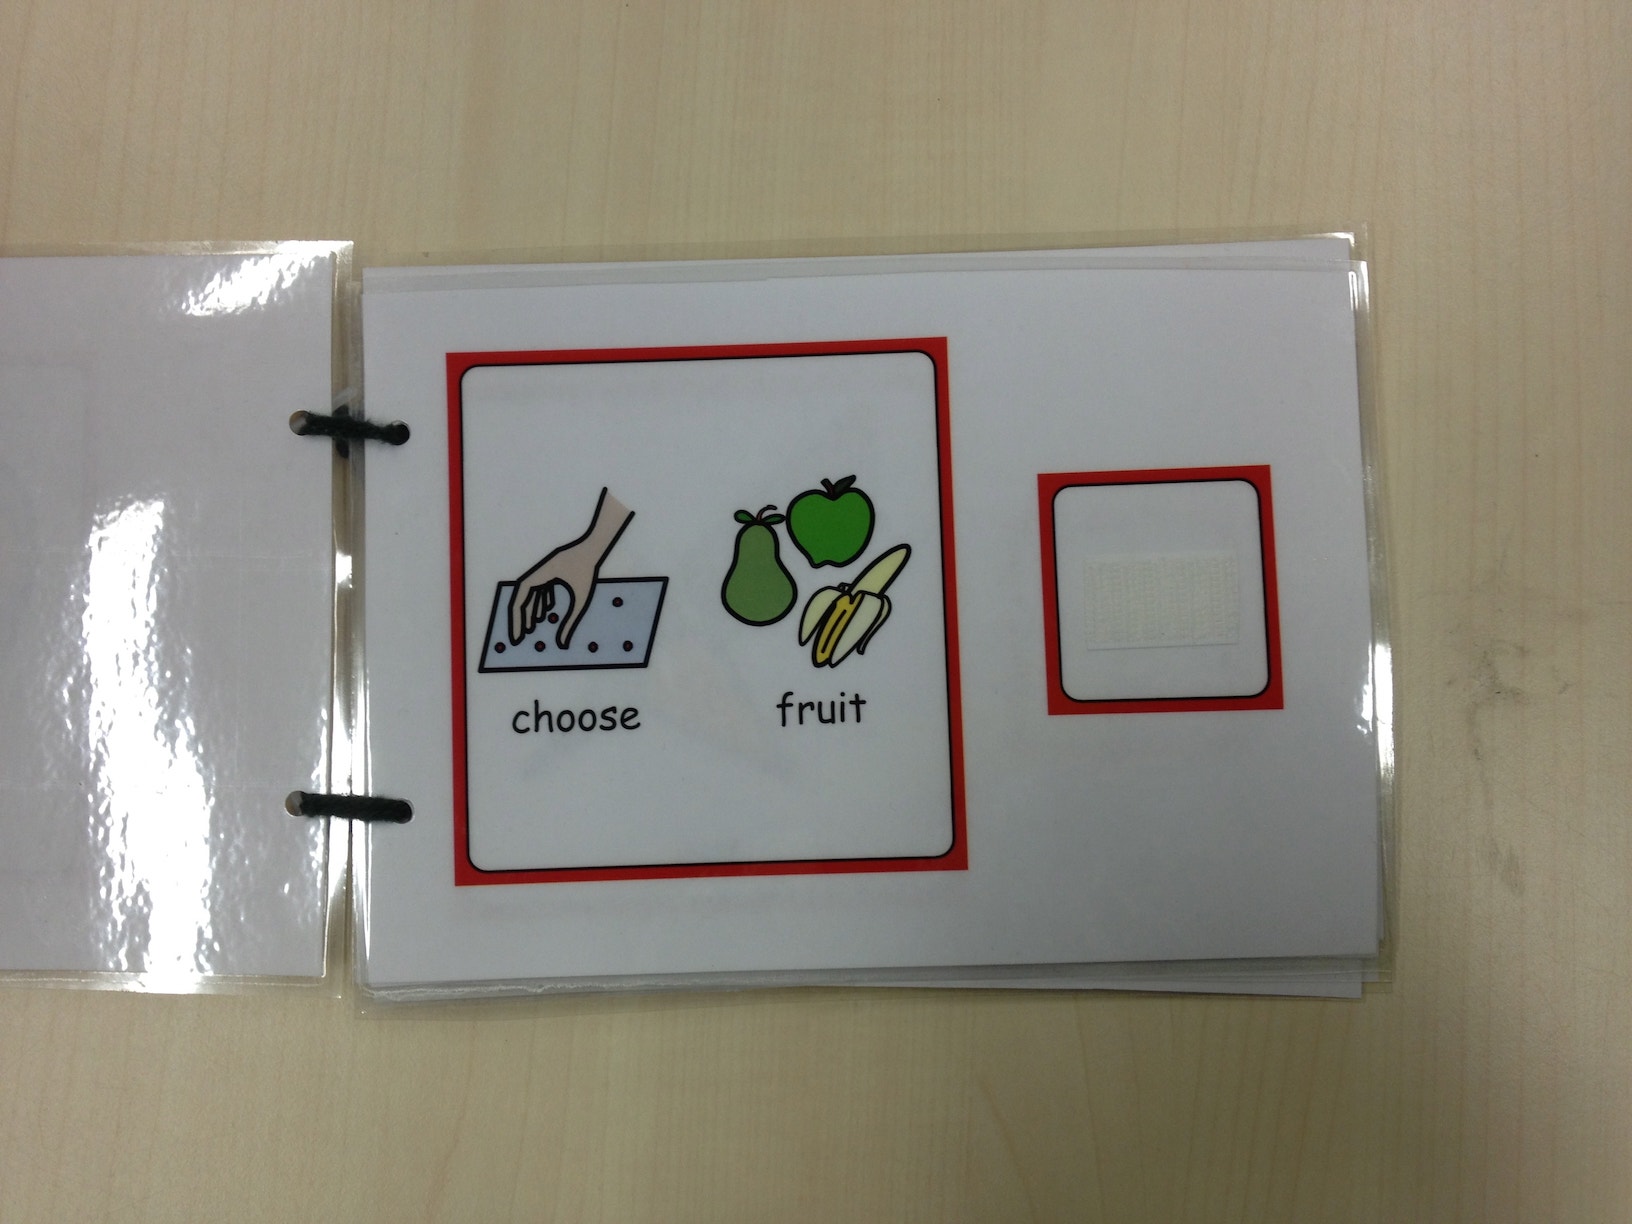
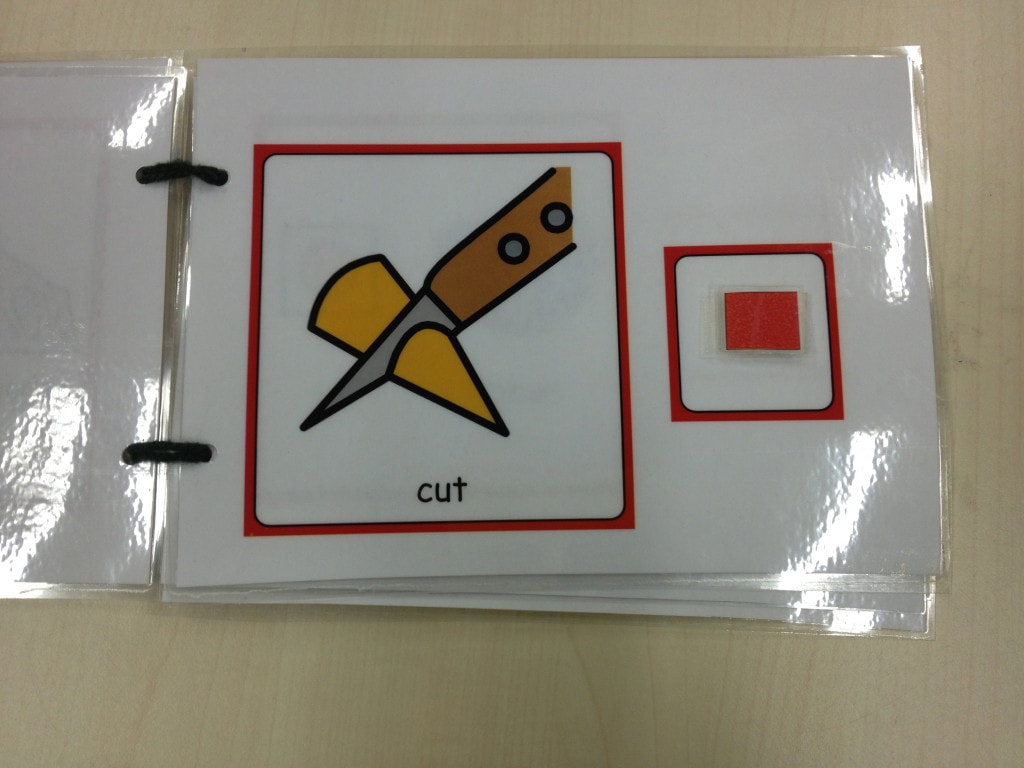
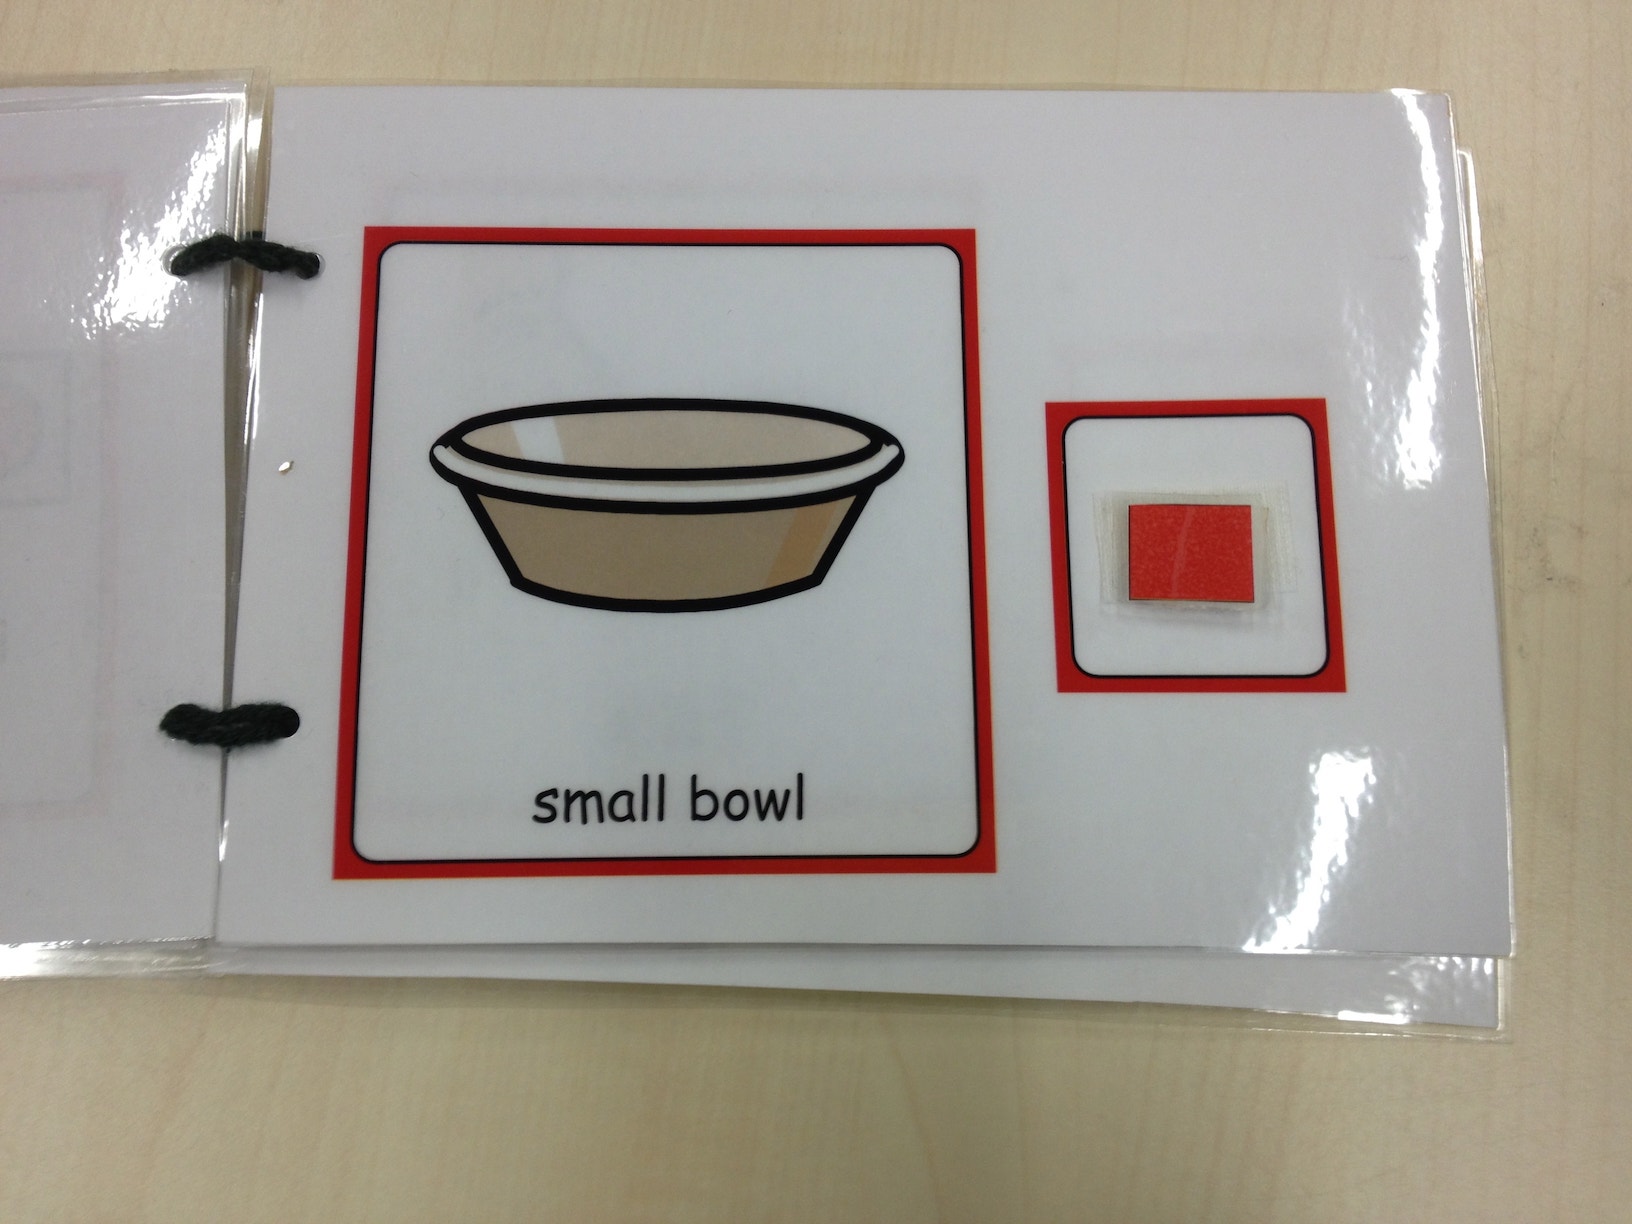
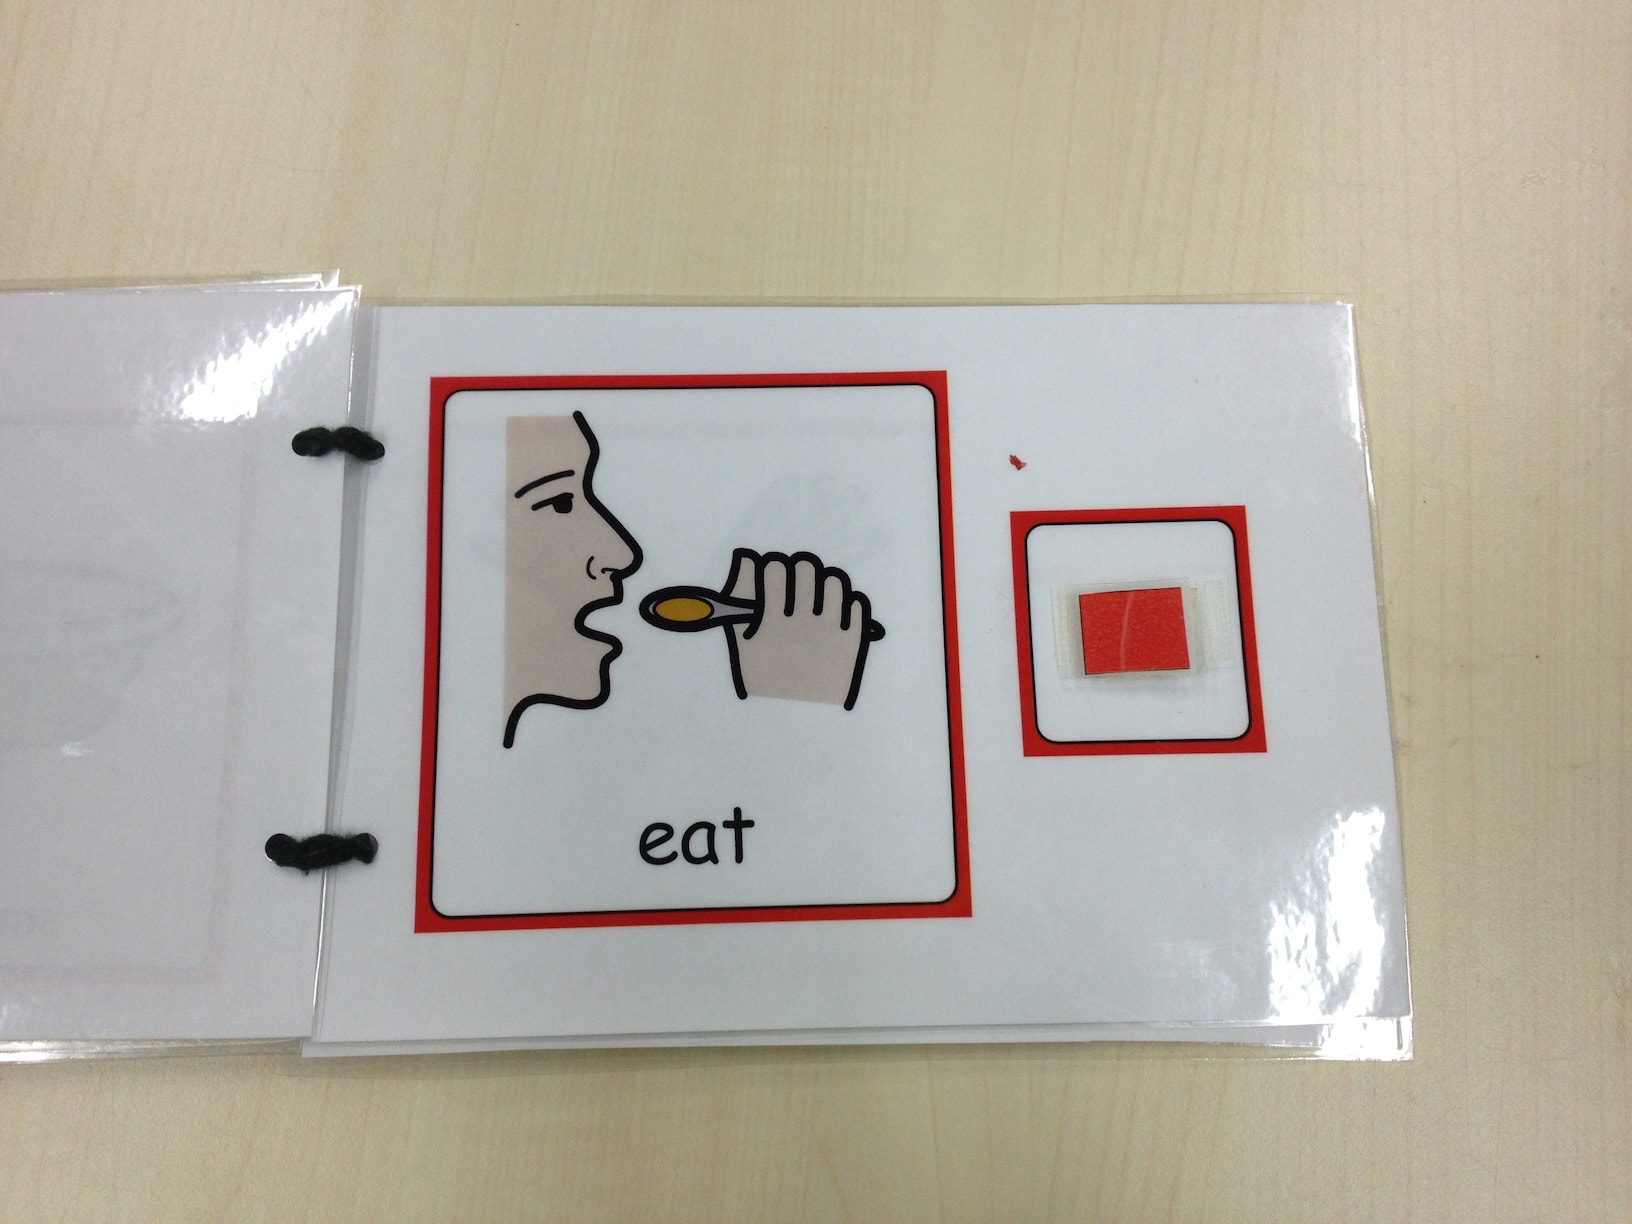
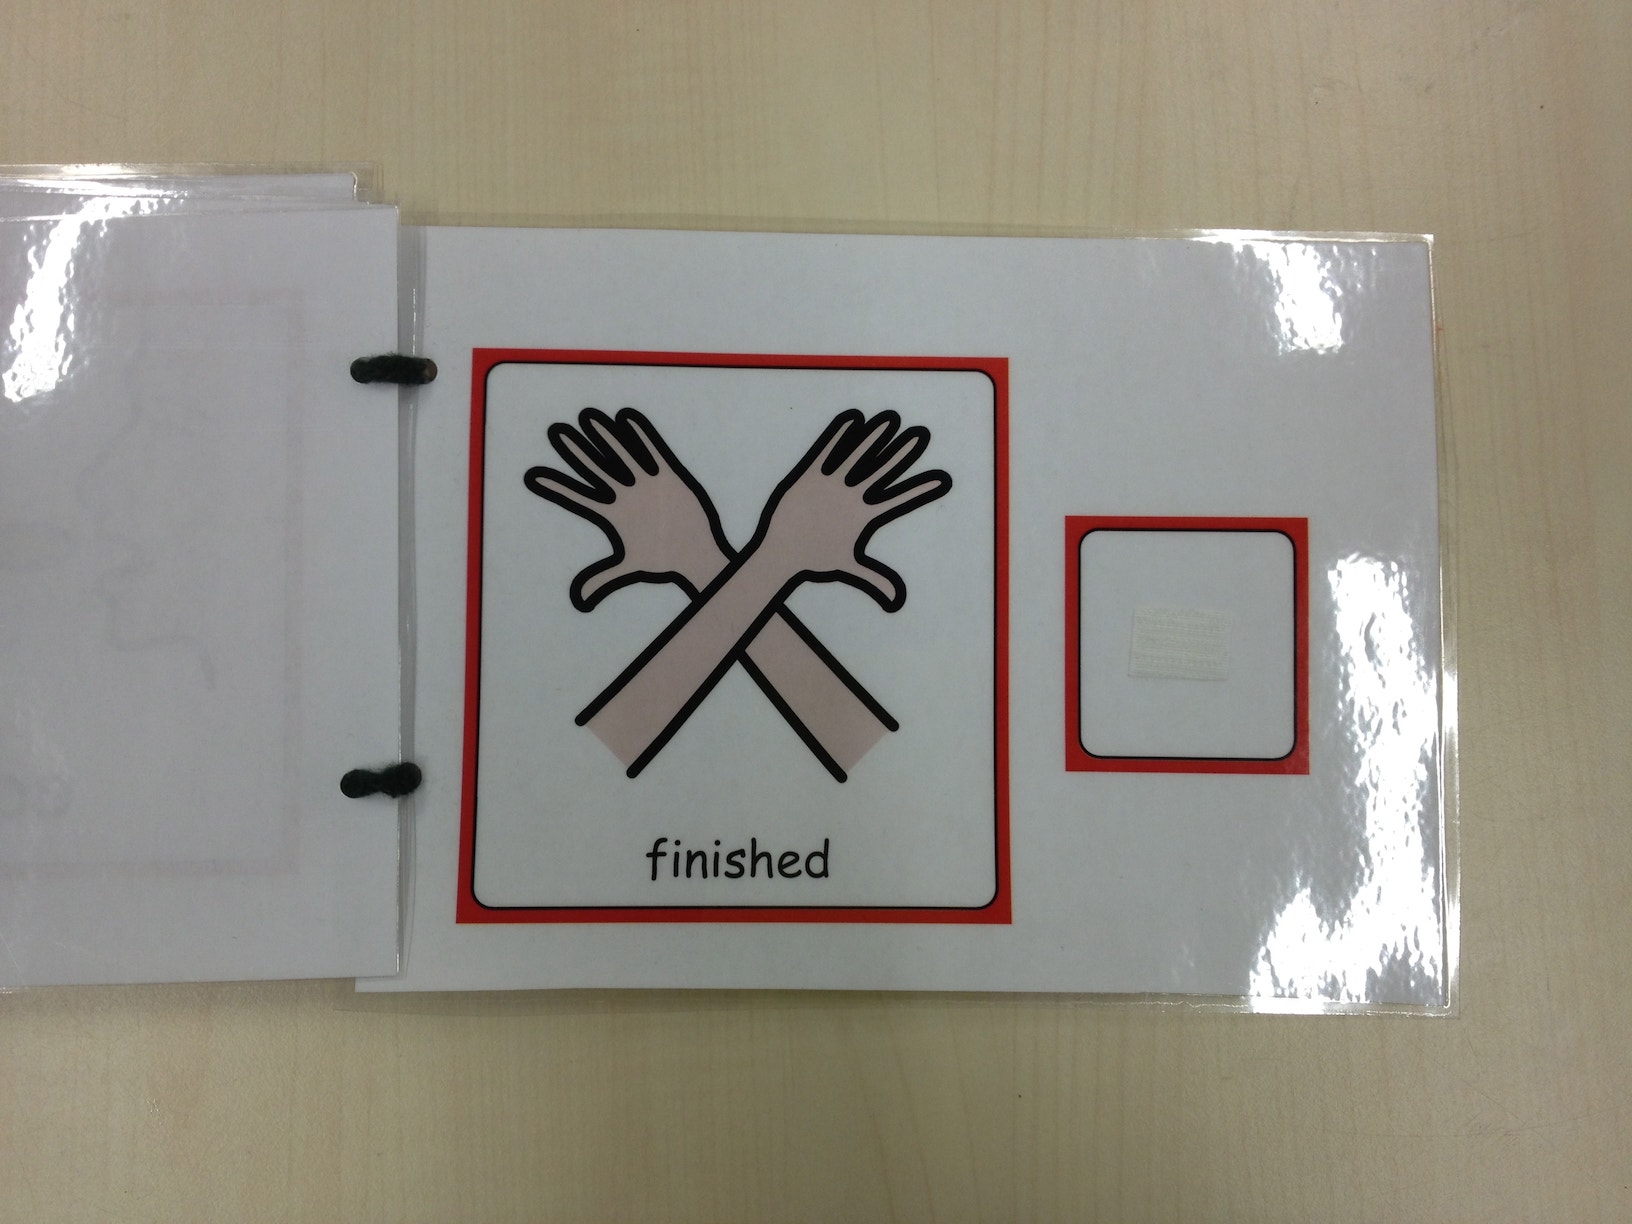
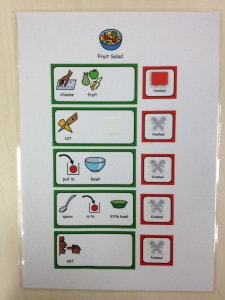
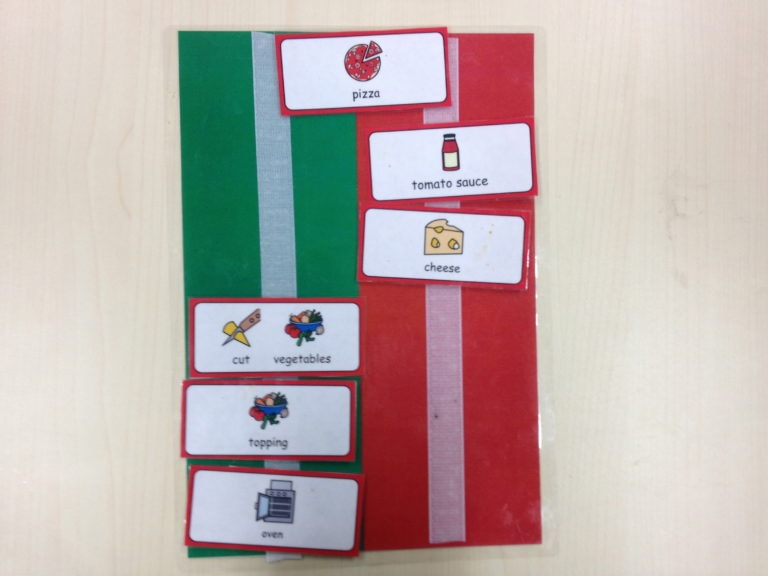
I love this idea, especially the first booklet that has only two-syllable directions on each page. I really think that something like this could help students to break down the task and better understand exactly what is going on. I also love how you lamented all of your cards…this makes it easy to reuse all of them and you don’t have to worry about them getting destroyed. I am sure students also find it very rewarding to move the red square to show that they are finished. Thanks for sharing! I hope to one day use this in my classroom.

Amelia · November 16, 2014 at 6:42 pm

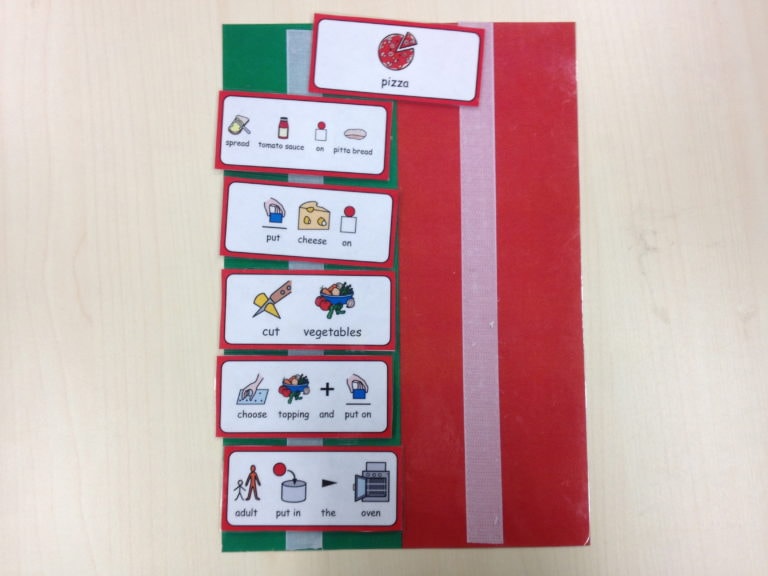
Love this idea. Such a great visual for students!!

Comments are closed.